ALL TUTORIALS
ALL TUTORIALS
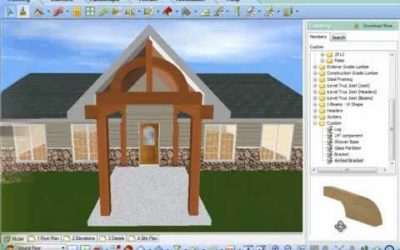
Arched Brackets for Post Frame Construction (Video)
This video shows how to create and insert an arched bracket for post frame construction using a convert polyline to profile command in Cadsoft Envisioneer
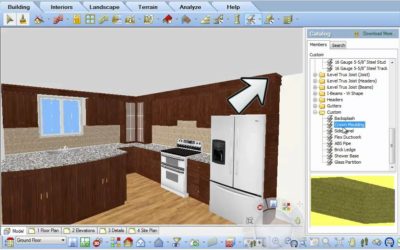
Using Members as Alternate Objects (Video)
The member command in Envisioneer is very versatile -- a member can be any size, shape and made from any material. So think outside the box and when you need a tiled backsplash, make a member the equivalent height and thickness and then pick points on its insertion to...
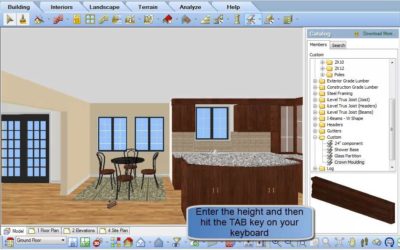
Elevating & Sloping Members (Video)
When you insert elements into a model using Cadsoft software, the bottom area of the screen will always prompt you with directions, this area is referred to as the "Commander" area. When you insert a member, the Commander will prompt you to "Pick first insertion...
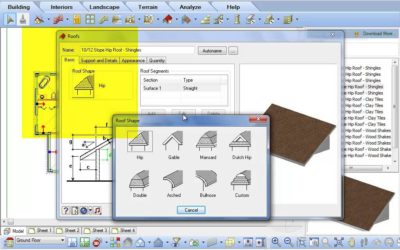
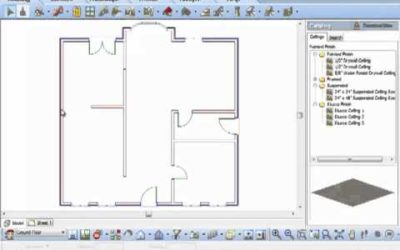
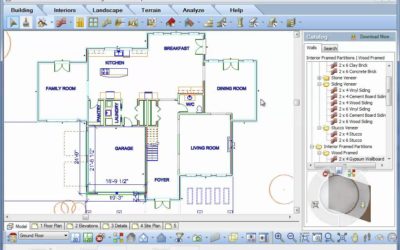
Creating Roofs (Video)
Envisioneer offers two quick methods to put a roof on a house. If the shape of the roof matches the exterior wall footprint then use Roof by Perimeter which automatically matches the shape of the roof to the house. If the roof deviates from the outline of the exterior...
Roof Surfaces (Video)
When a roof is first created it is a cohesive unit where each segment of the roof will update as changes are made to the individual sides. Roofs can be exploded into individual surface elements that can be changed independently of one another for more in-depth editing...
Curving a Wall (Video)
Envisioneer is a versatile tool that will work with all of your design challenges. If your design incorporates a curved wall feature, select the wall that you need to curve, right click and select Curve. Place your cursor on the midpoint of the wall and holding down...
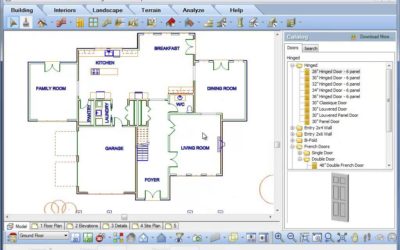
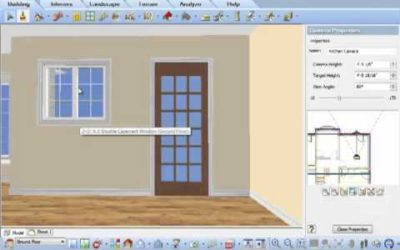
Opening Doors in 2D and 3D (Video)
The percentage that a door is open in Envisioneer is customizable. Select a door, right click to reveal the editing opportunities and select Properties. In the properties of the door you can edit both the percentage it is open in 2D and in 3D. Click OK to accept your...
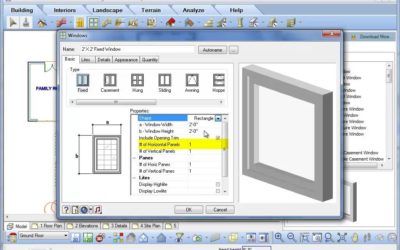
Mulled Window Units (Video)
The standard window catalog in Envisioneer can be updated to include specific manufacturers and custom windows. To add a new window style, right click and select Add Element in the catalog panel. The specific properties we will focus on are how to make a mulled window...
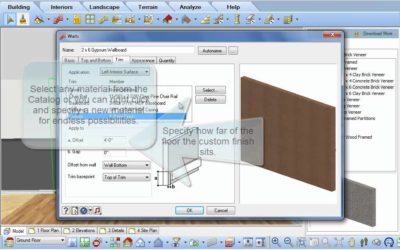
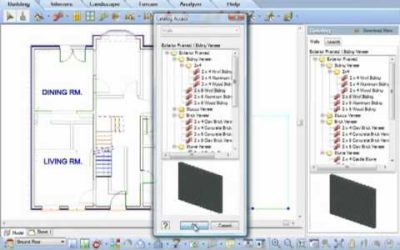
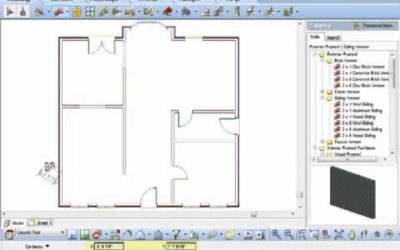
Walls with Multiple Finishes (Video)
Your design incorporates multiple materials up the height of a wall, so how do you show all of the various materials on that wall in your Envisioneer model? Left click to select the wall and then right click and choose Properties. In the Properties page of that wall,...
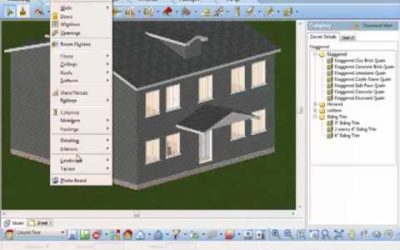
Quoins and Cornerboards (Video)
Cornerboards Video: https://youtu.be/8ns8VLw0Mcs Instructions from Video: Want to add further detail to a model by adding cornerboards or quoins to the corners? Select Insert>Detailing>Corner Details or select the Corner Details icon. In the default catalog,...
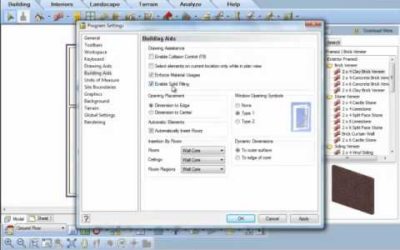
Adding Solid Fill to a Wall (Video)
Are you doing a presentation drawing and want to shade in the walls to a solid colour? Go to Settings-Program Settings-Building Aids. Check Enable Solid Fill and voila the walls will darken in. Some walls not darkened? Look at the Properties of that wall and under the...
Insert a window above another Window (Video)
Watch as Don Cable, Envisioneer Distributor in Australia profiles the flexibility of inserting windows in an Envisioneer model.
Remove Opening Trim (Video)
Along the same wall you have two openings and on one you want casing and on the other you don't. As a default the properties of the wall will put casing around both. Left click to select the opening that you want to remove the trim. Right click and select Properties....
Wall Break (Video)
In one room you may have two different finishes along one length of wall. How do you give two finishes to one wall? You break it where the finish changes and then they become two independent walls that can have two different finishes. To break a wall, left click to...
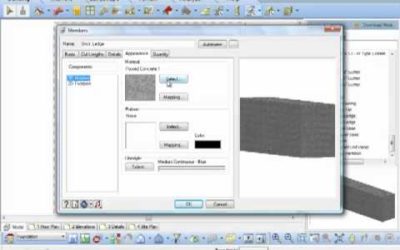
How to Draw a Brick Ledge (Video)
In Envisioneer the member command allows you to create a member any size shape and material so it is a very versatile tool that can be used for tiled backsplashes or a concrete curb for a brick ledge. watch...
Convert Line (Video)
Have you sketched out a layout with lines and need a quick way to now make that a 3D object. Select the lines and then right click and select Convert To. Your options include convert to: walls, retaining walls, members, footings and edging. This is particularly...
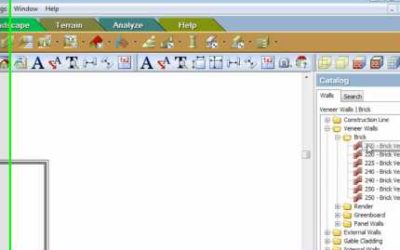
Drawing Walls using Cartesian Coordinates (Video)
Do you want to insert walls for a bay window but are not sure of the length or angle of the wall, you only know the overall distance it protrudes from the house? While inserting the walls, look at the command line at the bottom of your screen, the left side of the...
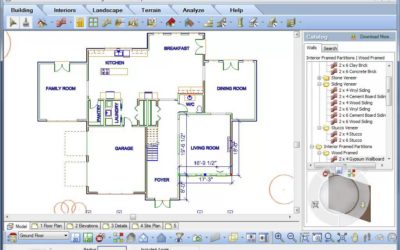
Multiple Wall Insertion Methods (Video)
There are several ways to insert walls in Envisioneer. Watch as Don Cable, Australian Envisioneer Distributor, inserts walls in 3 different ways.
Replace
Changes are inevitable in a design project. Envisioneer's Replace function makes it quick and easy. Select an element that you want to replace and right click, on the right click menu you will also see that you can "Select all Similar" which is very handy if you want...
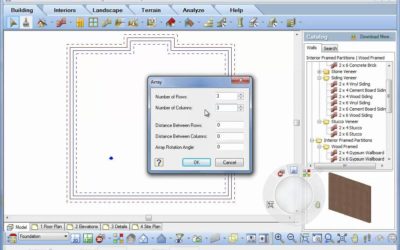
Tool Tip – Array (Video)
When you need to insert multiple copies of an object at a set distance apart, remember to take advantage of the array feature in Envisioneer. Insert one object, such as a column. Select the object in your model and then right click and select Array. The Array feature...
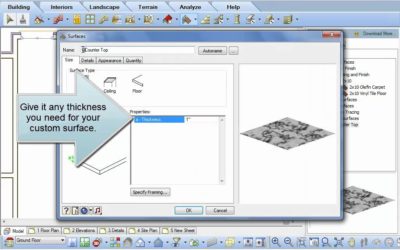
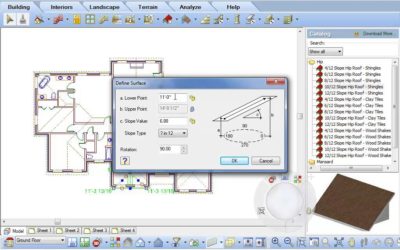
Surfaces (Video)
Do you need a custom countertop or a sloped concrete slab or any other custom horizontal element? Use the Surfaces tool in Envisioneer to create surfaces in any shape, material, thickness, flat or on a plane. Select Insert-Surfaces-Surfaces. Watch as I make a new...
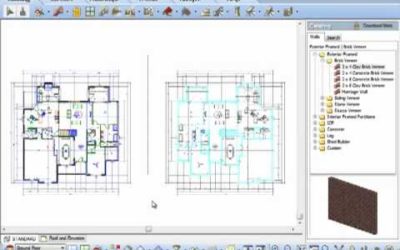
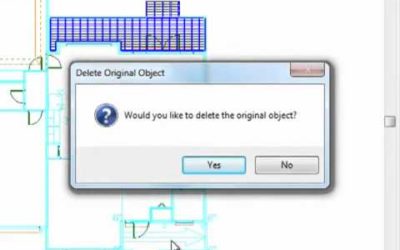
Mirroring a Plan (Video)
The mirror command has been expanded to delete the original upon request.
Duplicating an Entire Location (Video)
Duplicate to Locations Video: https://youtu.be/jeGPd_ffjcU Instructions from Video: When you have multiple stories that mimic the original floor location, Duplicate to Locations is the ideal tool. Once all of the items are inserted into your model that will occur on...
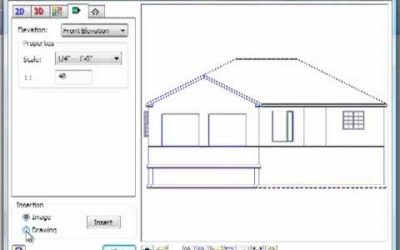
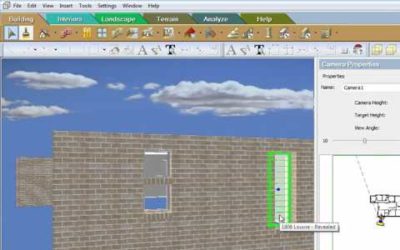
Inserting an Elevation or Section View to Measure (Video)
Do you want to take a vertical measurement while working in model view? Go to Tools-Layout-Insert View. Select to insert an elevation or section into your model space -- ensure you insert it as a drawing and not an image. Once inserted in the plan view you can use the...
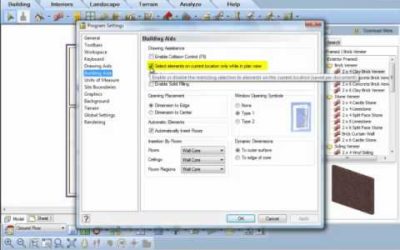
Moving Elements on Multiple Locations (Video)
Are you faced with a major design change where objects on multiple locations must move? You can move all of them at the same time regardless of their location. Go to Settings-Program Settings-Building Aids. In the Building Aids options, uncheck Select elements on...