In Envisioneer you can create a panoramic view to export to the Envisioneer VR Smartphone App. This is a great way to share your work with clients, friends and family.
To use the new Generate Panoramic View Feature:
1. Ensure that you are in a 3D Camera View (3D Perspective view or a saved camera view).
2. Select View > Render Panoramic View.
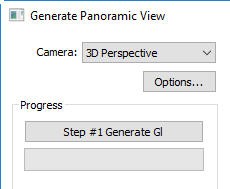
3. The Generate Panoramic View dialog will appear.
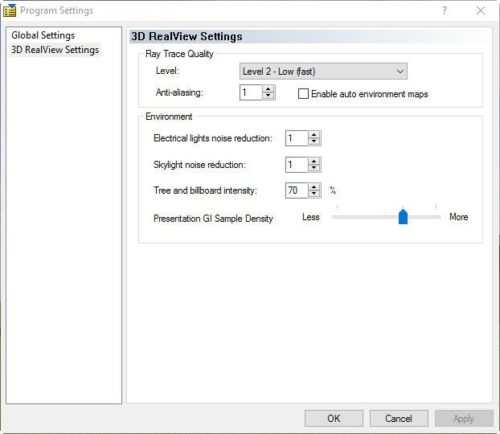
4. To adjust the rendering settings select the Options button.
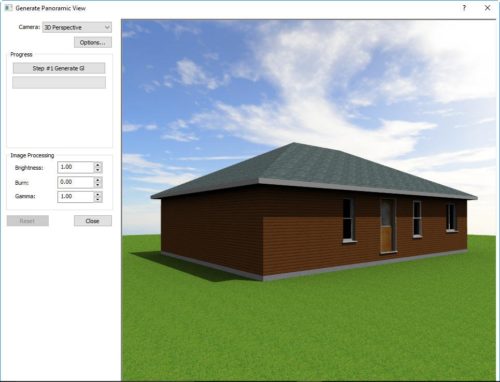
5. In the dialog that opens adjust your rendering settings, then click OK.
6. Select the Step #1 Generate GI button. This calculates the Global Illumination of the scene. You will see a Render Complete! message below this button once this calculation has finished.
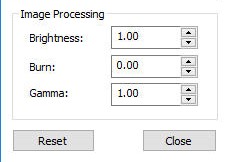
7. You can now adjust the following controls in the Image Processing pane of the Generate Panoramic View dialog as desired: Brightness, Burn and Gamma.
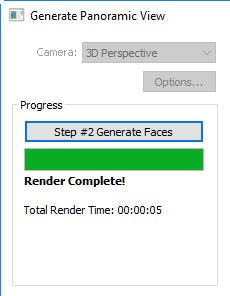
8. When you have finished adjusting these controls, you can now select the Step #2 Generate Faces button. This will render all 6 faces of the cube that make up the Panoramic View environment. During this process, you are able to move around in the preview window to see the different faces that are being generated. To do so, left-click on your mouse and move it around.
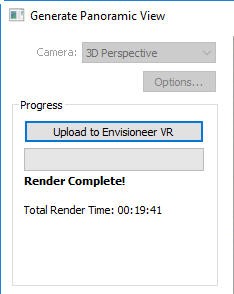
9. Once all 6 faces have been generated you will see the Upload to Envisioneer VR button become available. To upload your project select this button.
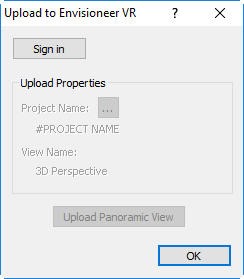
10. In the Upload to Envisioneer VR dialog you will need to sign in before you can upload your project. To do so click on the Sign in button.
11. In the Sign in dialog enter your Cadsoft online community User Name and Password, then click the Login button.
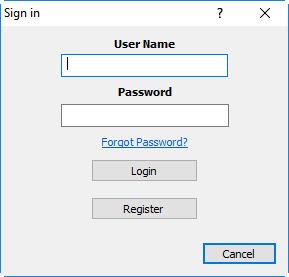
NOTE: If you have not registered yet, you can register for free by clicking on the Register button that will direct you to the online registration webpage.
12. Once you are signed in you need to name your project. Start by clicking on the […] Button beside Project Name.
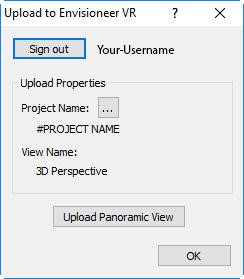
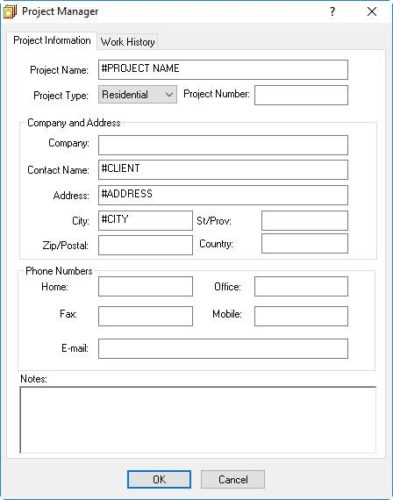
13. In the Project Manager dialog enter your Project Name in the corresponding field. Ignore the rest of the fields in this dialog. Then click OK.
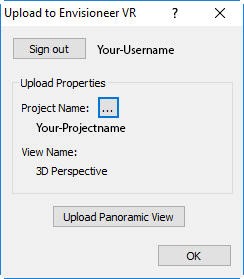
14. In the Upload to Envisioneer VR dialog click on the Upload Panoramic View button.
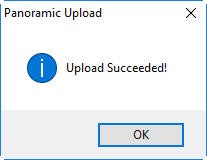
15. When you see the Upload Succeeded! message in the Panoramic Upload dialog, Click OK. The upload is now complete.
NOTE: If you have other camera views saved that you want to add to this uploaded project you could add them now, or return later to do so. You would follow the same workflow listed above to add the additional views, using the same Project Name, and the Envisioneer VR app will automatically connect them. You can have a maximum of 8 camera views per project, and a maximum of 20 projects uploaded at any given time. Views will be ordered sequentially following the order of upload, with the first upload being the first that will appear when you access a project.